This is part 2 of my Acrylic Flow Art series (as I was commissioned to do 3 large canvases (each 24″ x 48″) I knew I’d get at least a few videos and blog posts out of this project – LOL). If you’re interested in the formulas I used for my paint mixtures (essentially 2 parts Flood Floetrol to 1 part paint 5-8 drops of Treadmill Silicone Lubricant) or the products used, please check out my first episode HERE.
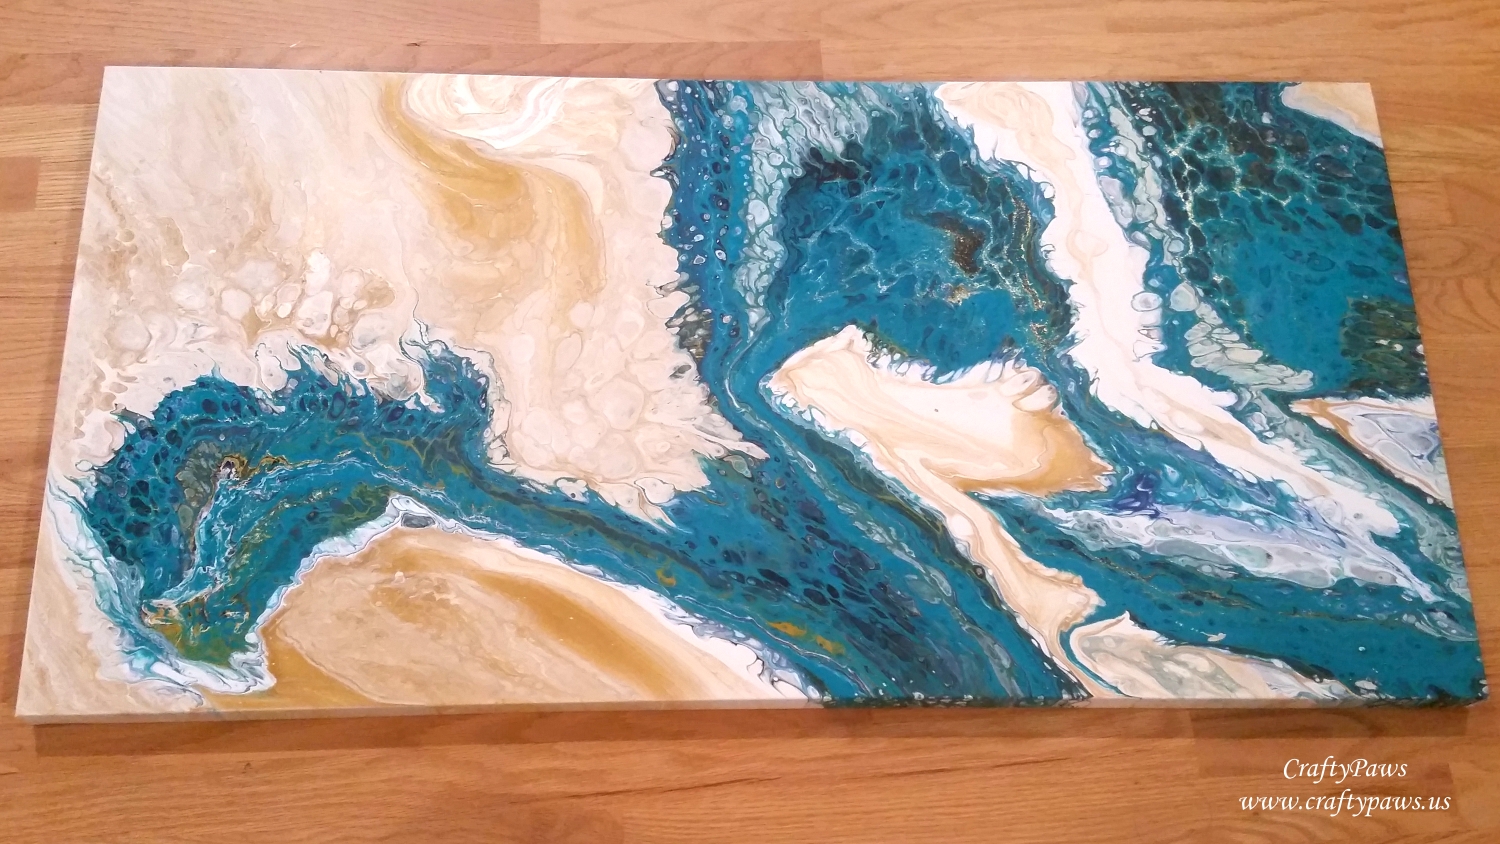
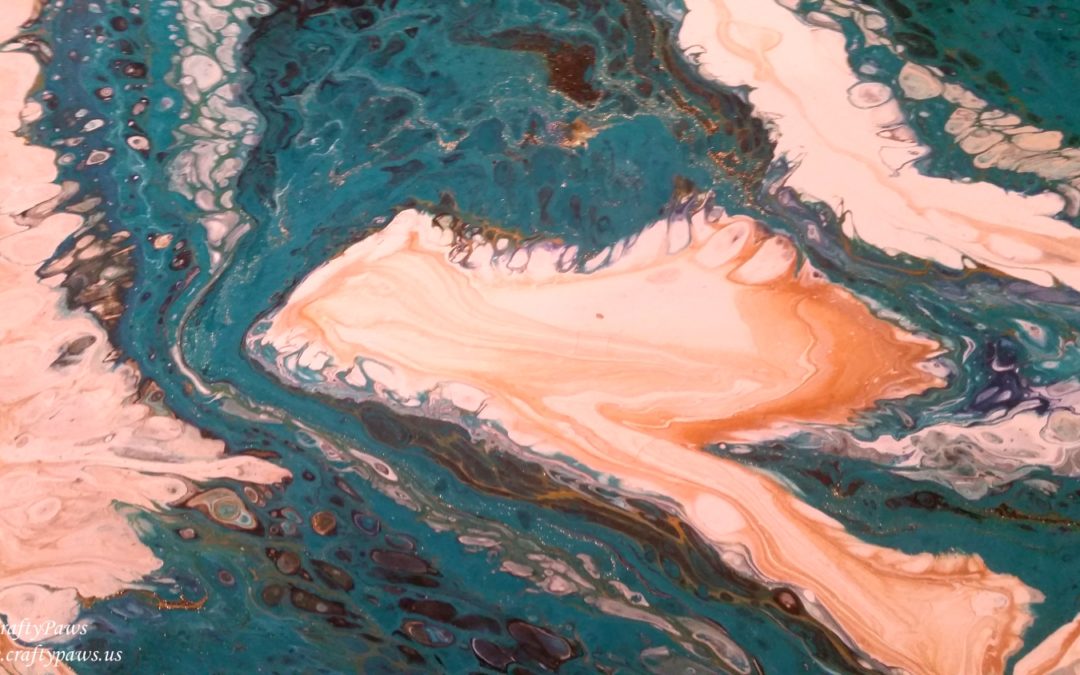
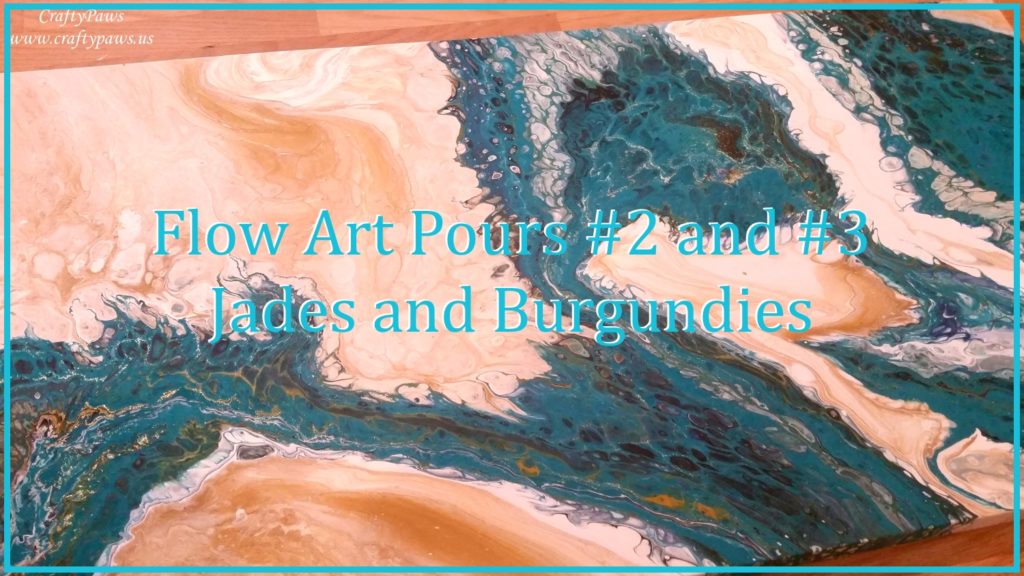
For my second canvas, I wanted to create something fresh with blues and greens while complimenting these brighter hues with golden earthy colors so that the piece would fit in the office lobby space, which is all in browns and creams. So I used the following paints from my stash: Ranger Dylusions Vibrant Turquoise; Apple Barrel Dutch Blue and Black; Craft Smart Bright Blue, Turquoise, Black and White; DecoArt Fluid Acrylic Metallic Gold; Sargent Art Acrylic in White and Black; and Martha Stewart Multi-Surface Glitter Paint in Florentine Gold.
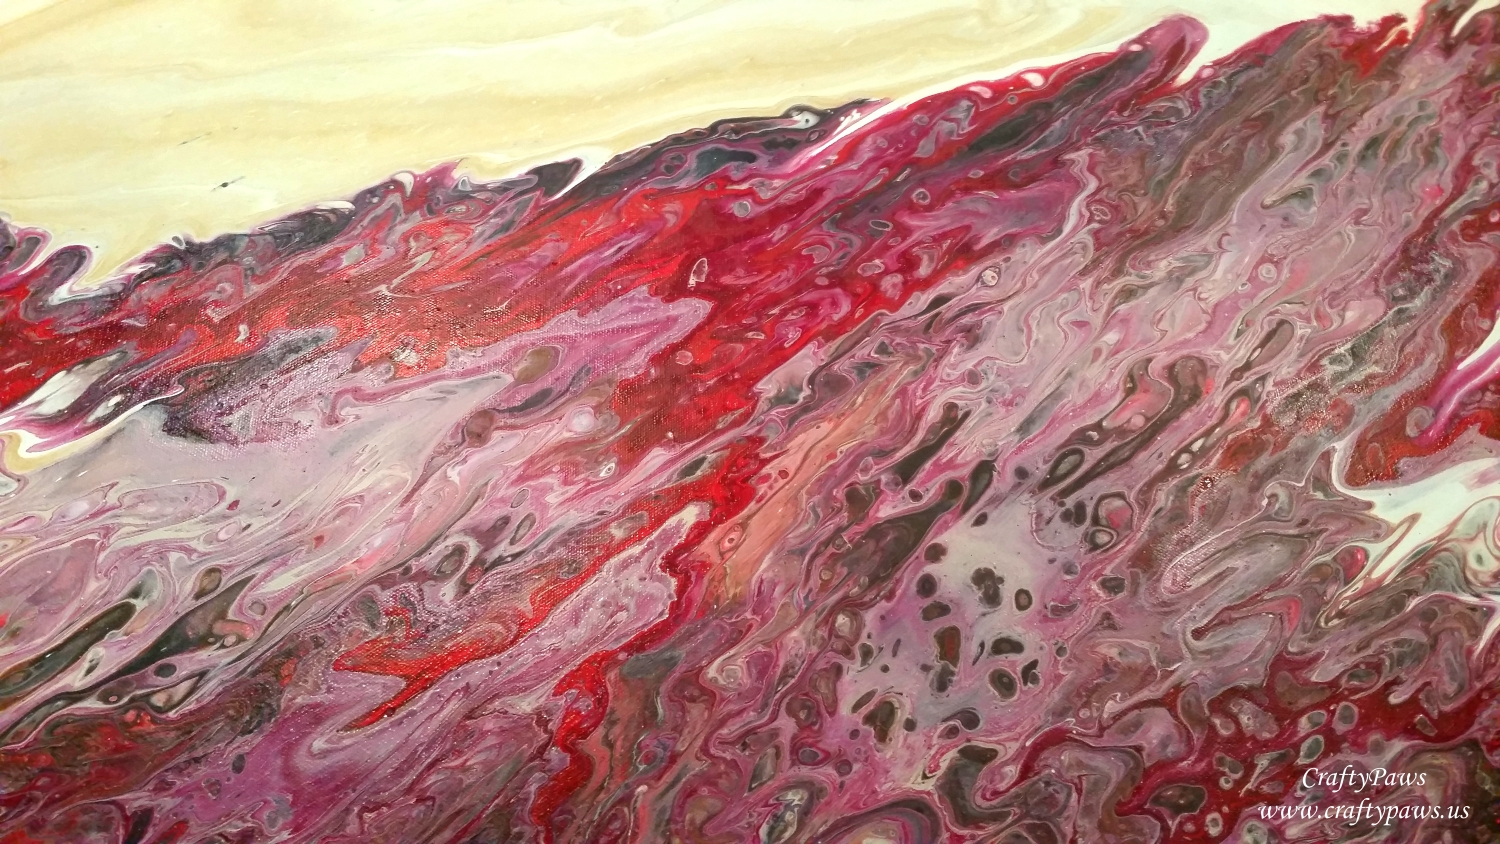
For my third canvas, I wanted something really vibrant with a dominant burgundy color along with some calmer golden creamy tones in the “negative space” part of the canvas so I used these paints from my stash: DecoArt Fluid Acrylics in Quinacridone Violet and Pyrrole Red; Martha Stewart Satin Multi-Surface Putty; Folk Art Metallic Antique Gold; Sargent Art Acrylics in White and Black; and Martha Stewart Multi-Surface Glitter Paint in Florentine Gold.
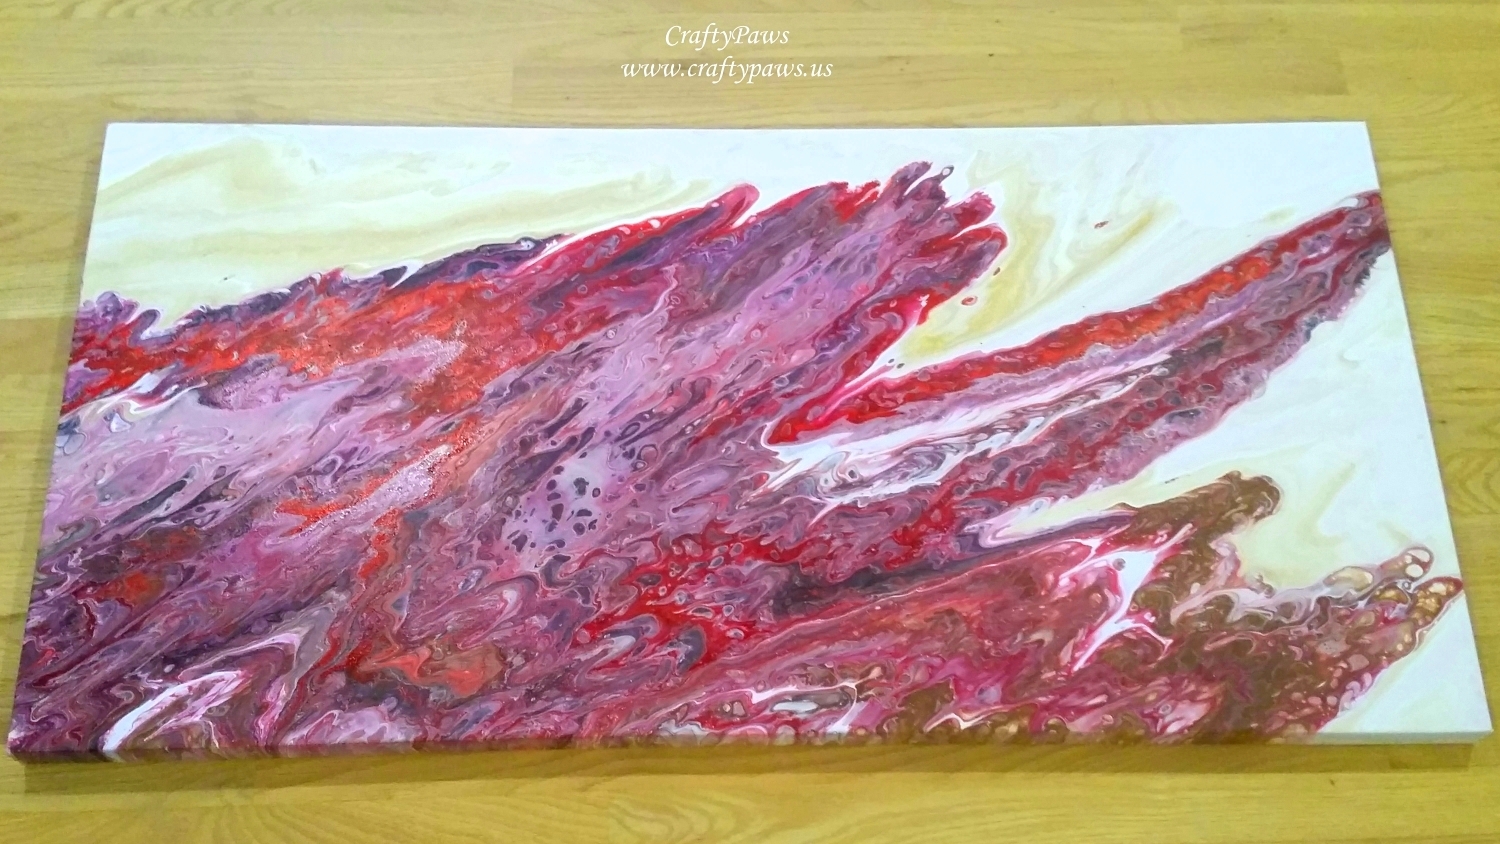
For both of these canvases, I used a double dirty pour and tilting technique. I wanted lots of fluidity, energy and cell formation, and I think by mixing one dirty pour with the dominant colors and a second dirty pour with just the white and metallic gold for the negative spaces, a good balance and harmony emerged. I now have to wait for about a week to 10 days before I can clean the silicone from the canvases so that I can varnish them – stay tuned for the next installment of this series!
The following is a process video of more paint mixing, pouring and tilting:
Disclosure: Many of the supplies I’ve used for today’s project are linked. Some may be affiliate links, which means if you make a purchase I receive a small commission at no extra cost to you. I truly appreciate your support toward the costs of running this blog!
This canvases are is being entered into the following challenges:
Lil Patch of Crafty Friends Anything Goes Challenge
Addicted to CAS Gold Challenge
Card Mania Anything But a Card Challenge
Crafters Castle Anything Goes with Optional Share a Favorite Technique Challenge


Love it Kristina! I would like to try this some time.
I’ve watched a couple of videos on it. Looks like the colored sand between 2 pieces of glass.
Awww thanks April! I think it looks like that sand art too! Hope you enjoy it when you try it. 🙂
Kristina these are fabulous!!! Your color choices are wonderful and the results are so artistic! I loved the videos. Thank you so much for entering our challenge at Crafter’s Castle this month….good luck 🙂
Hugs… Janie
DT
Crafter’s Castle
crafterscastle.blogspot.com
Thanks so much Janie!
Wonderful colours !
Thank you for joying us at Card Mania Challenge ! Wish you good luck!
DT – Veana R.
Thank you so much Veana!
Interesting technique and nice colors of your canvas !
Thanks for joining us at Card Mania Challenge and hope to see you again! Hugs, Kakichka DT
♥ Kakichka Blog ♥
♥ Kartishok – blog for ideas ♥
You’re so kind! Thanks so much Kakichka!
These are awesome! I really want to do these some time, but I need a cat proof area;P
Awww thanks so much Victoria! Puppy proofing is easier than cat proofing. 🙂
Oh this is just a gorgeous project you have created. Great work.
Thank you for sharing with us over here at Card Mania Challenge and good luck!
Thank you so much Marie!
Gorgeous. I love the pouring technique. I have tried too.Thank you for joining us at the Crafter’s Castle ATG challenge. – Priya Satish DT
Thank you so much Priya! They’re super fun, right?!